

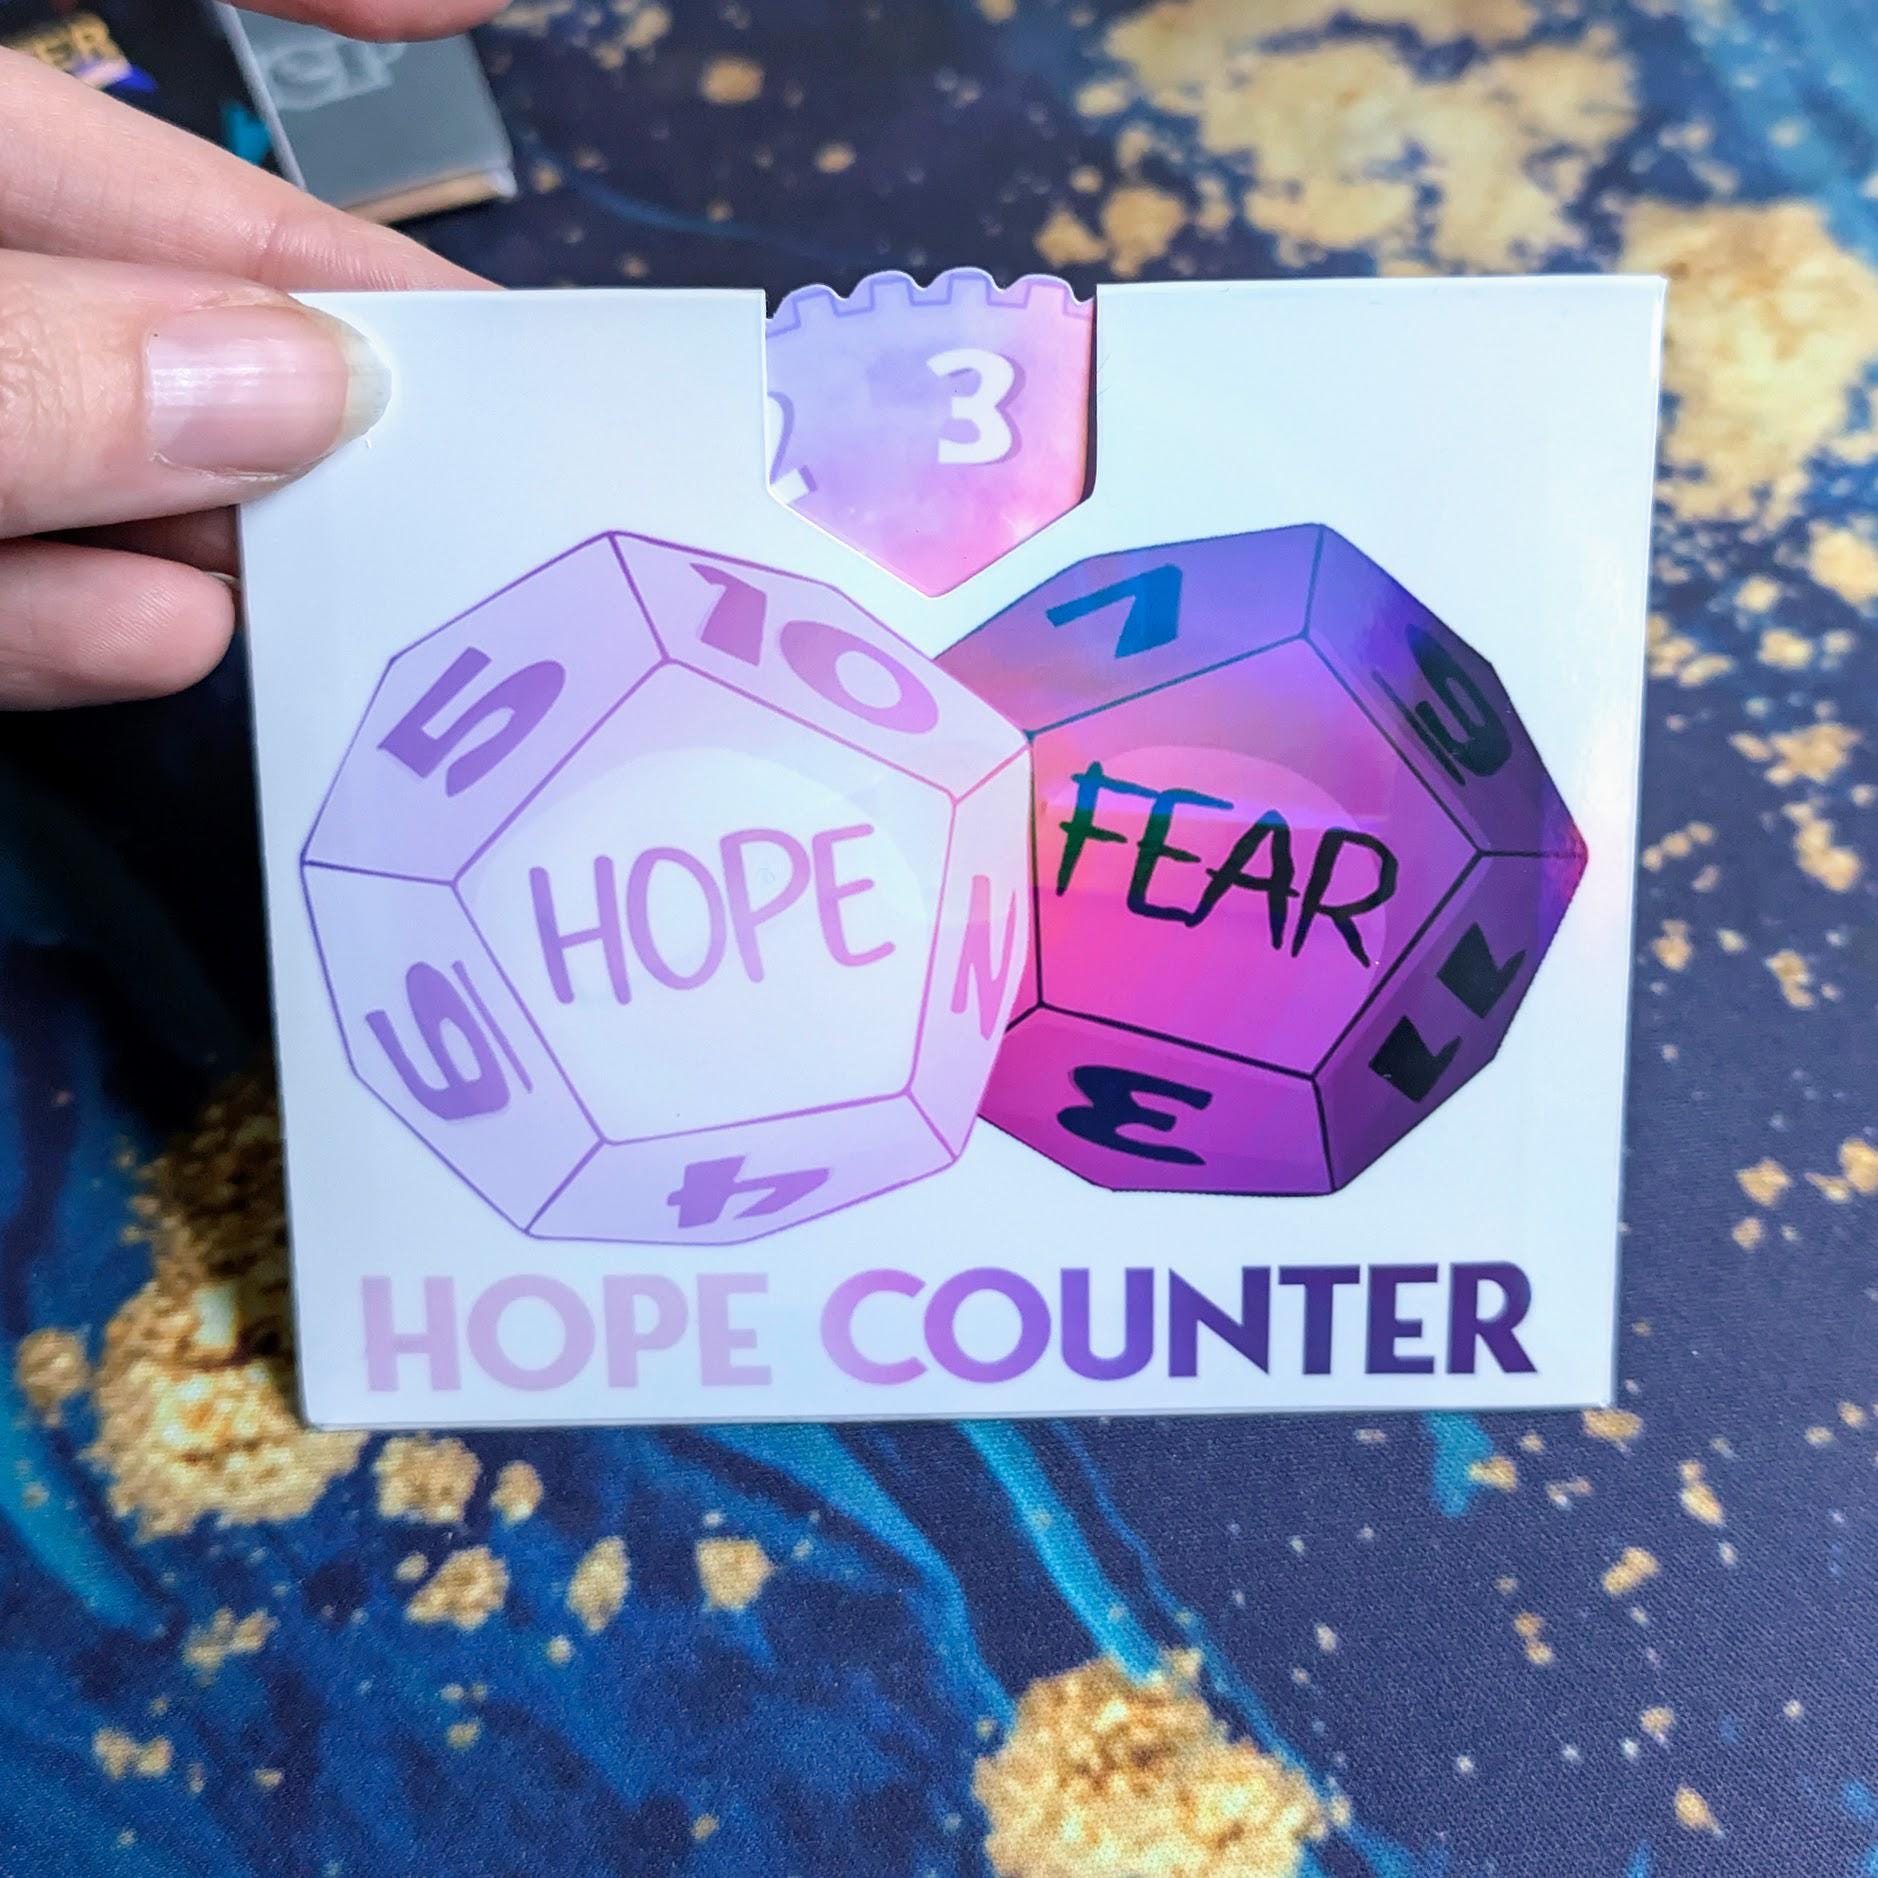
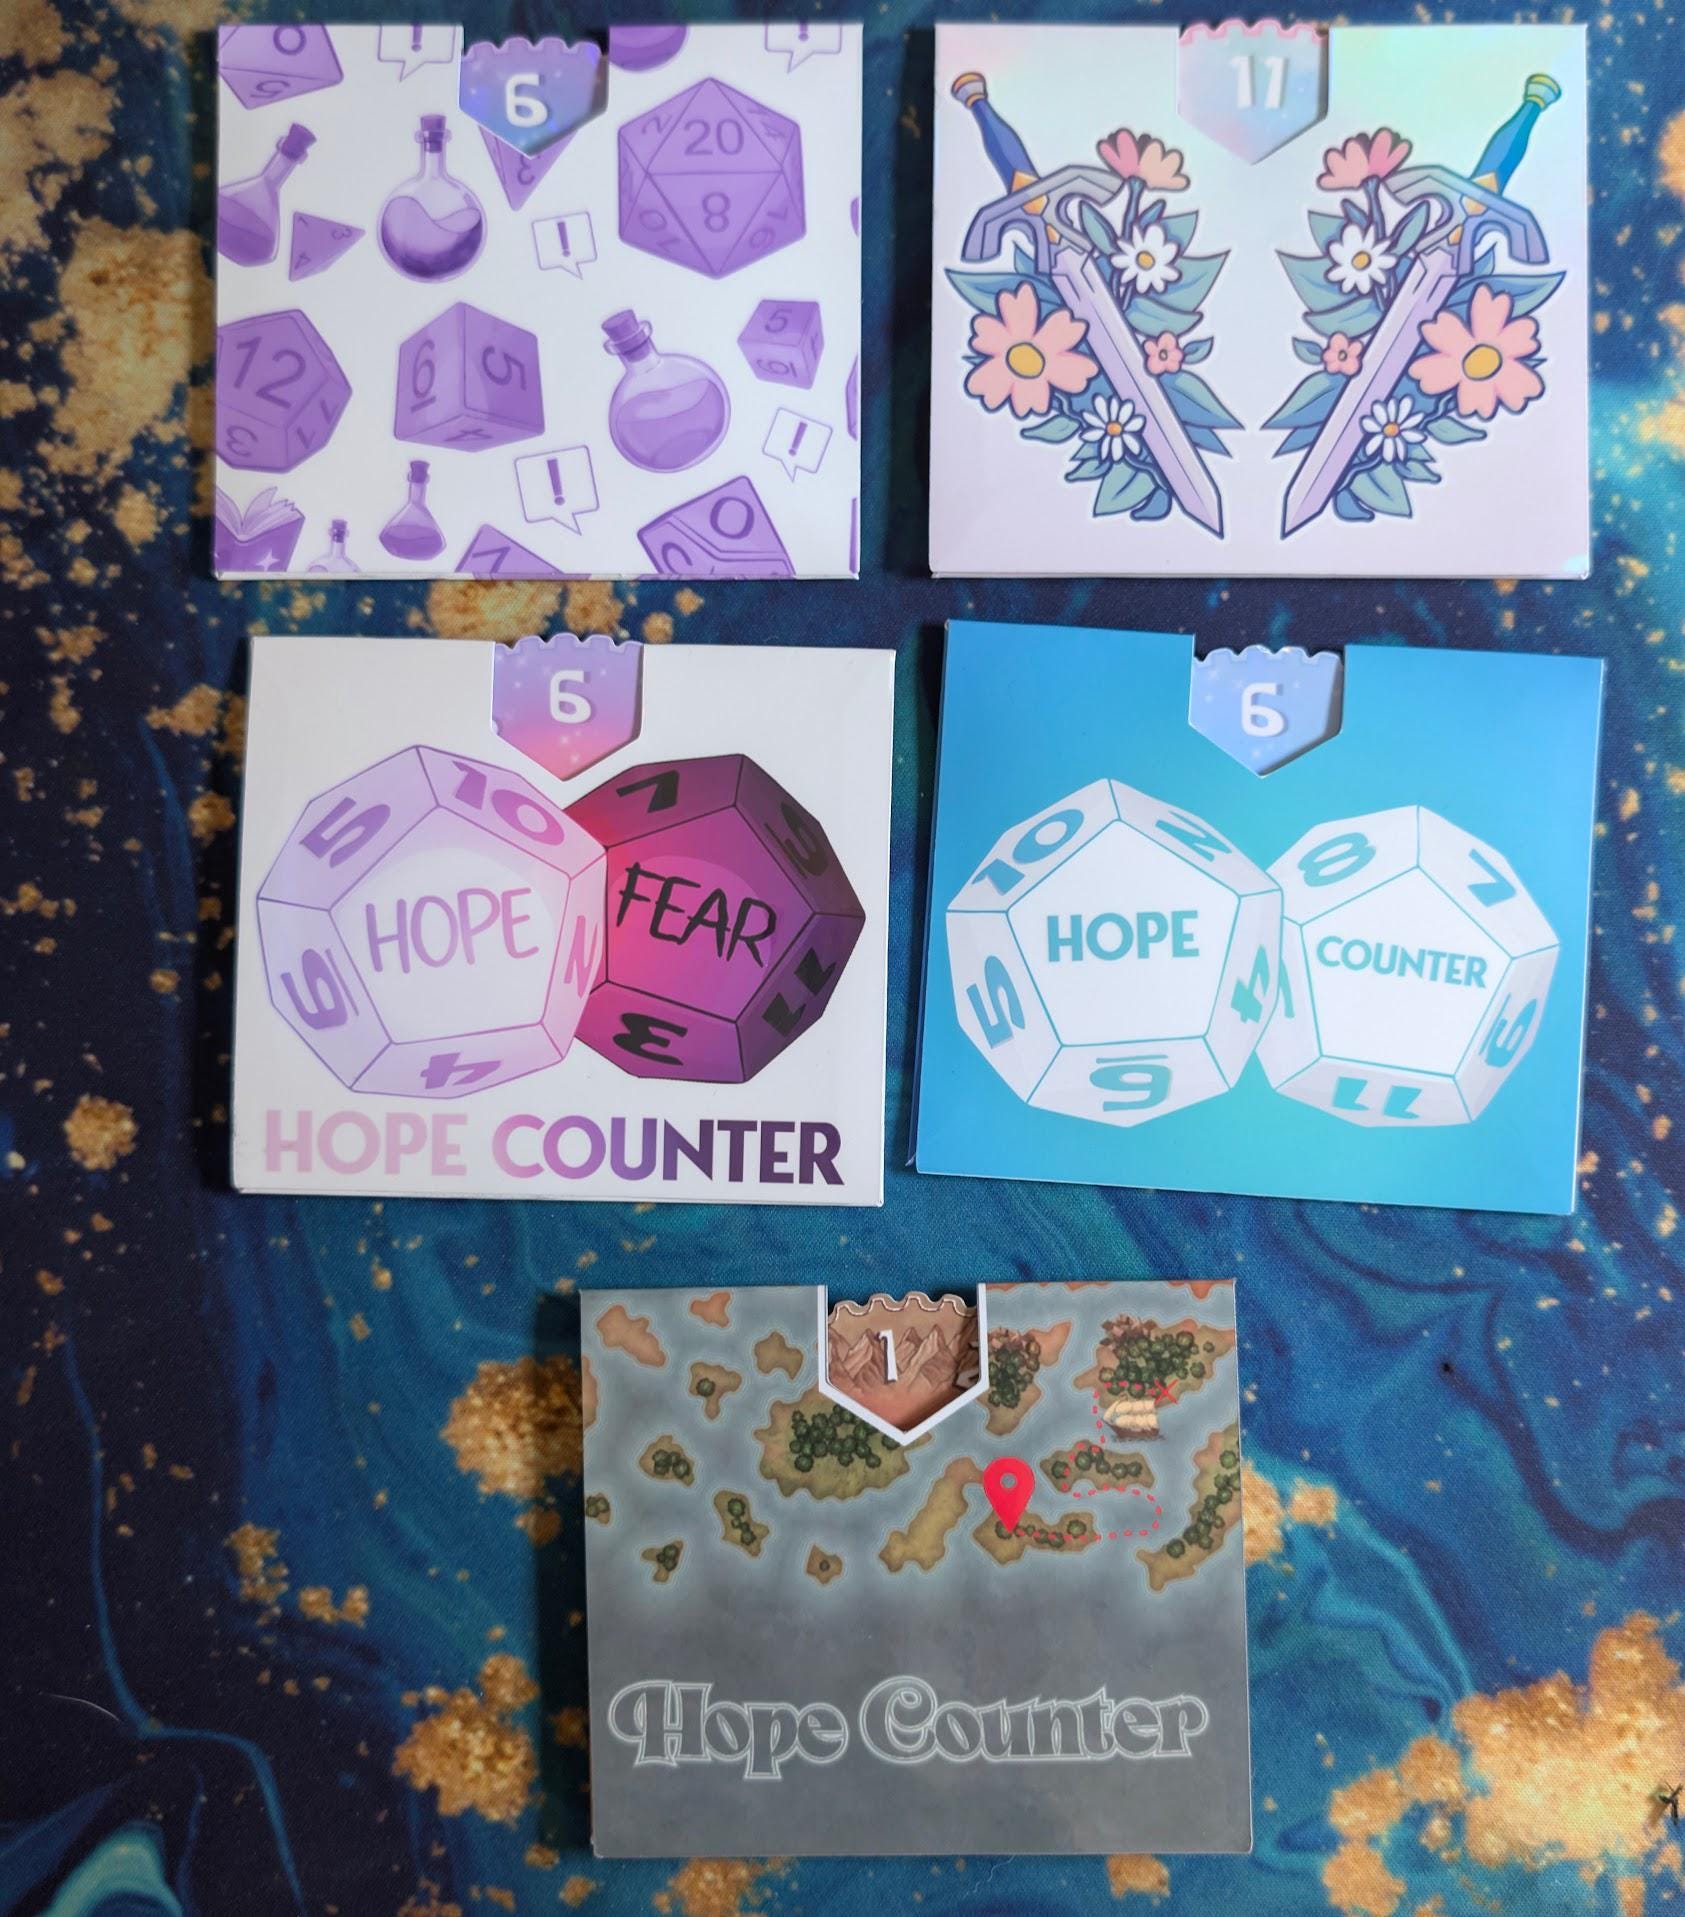
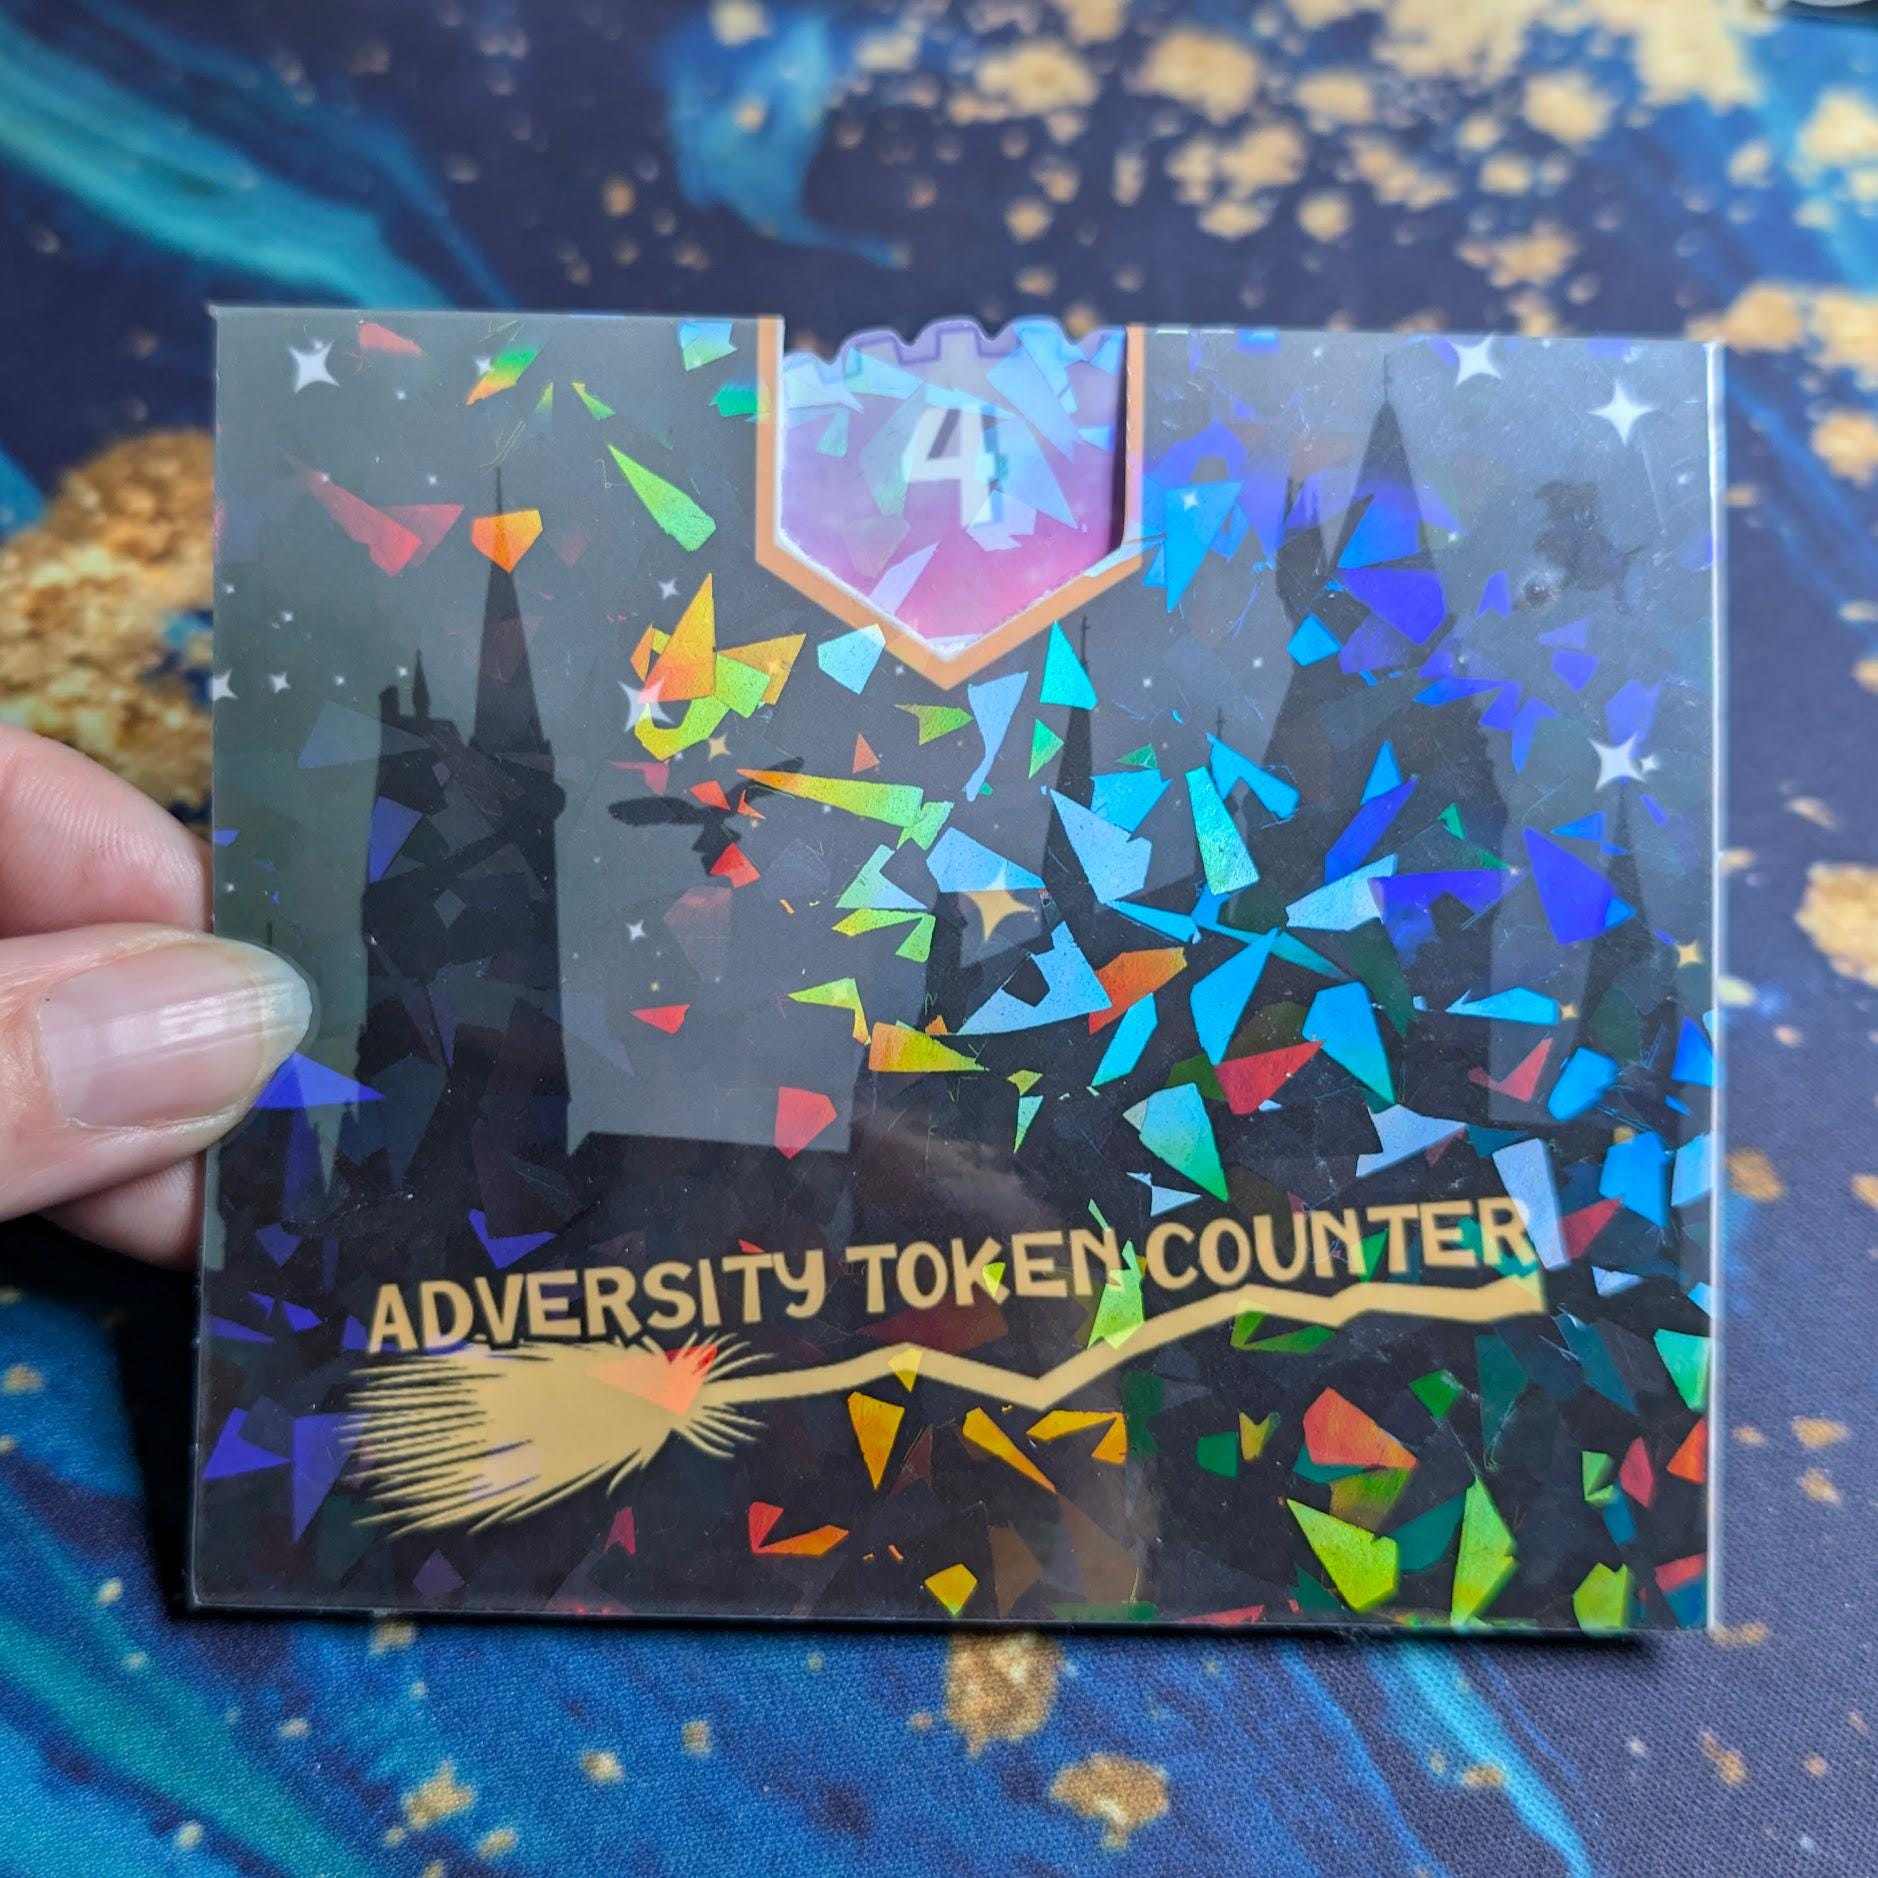
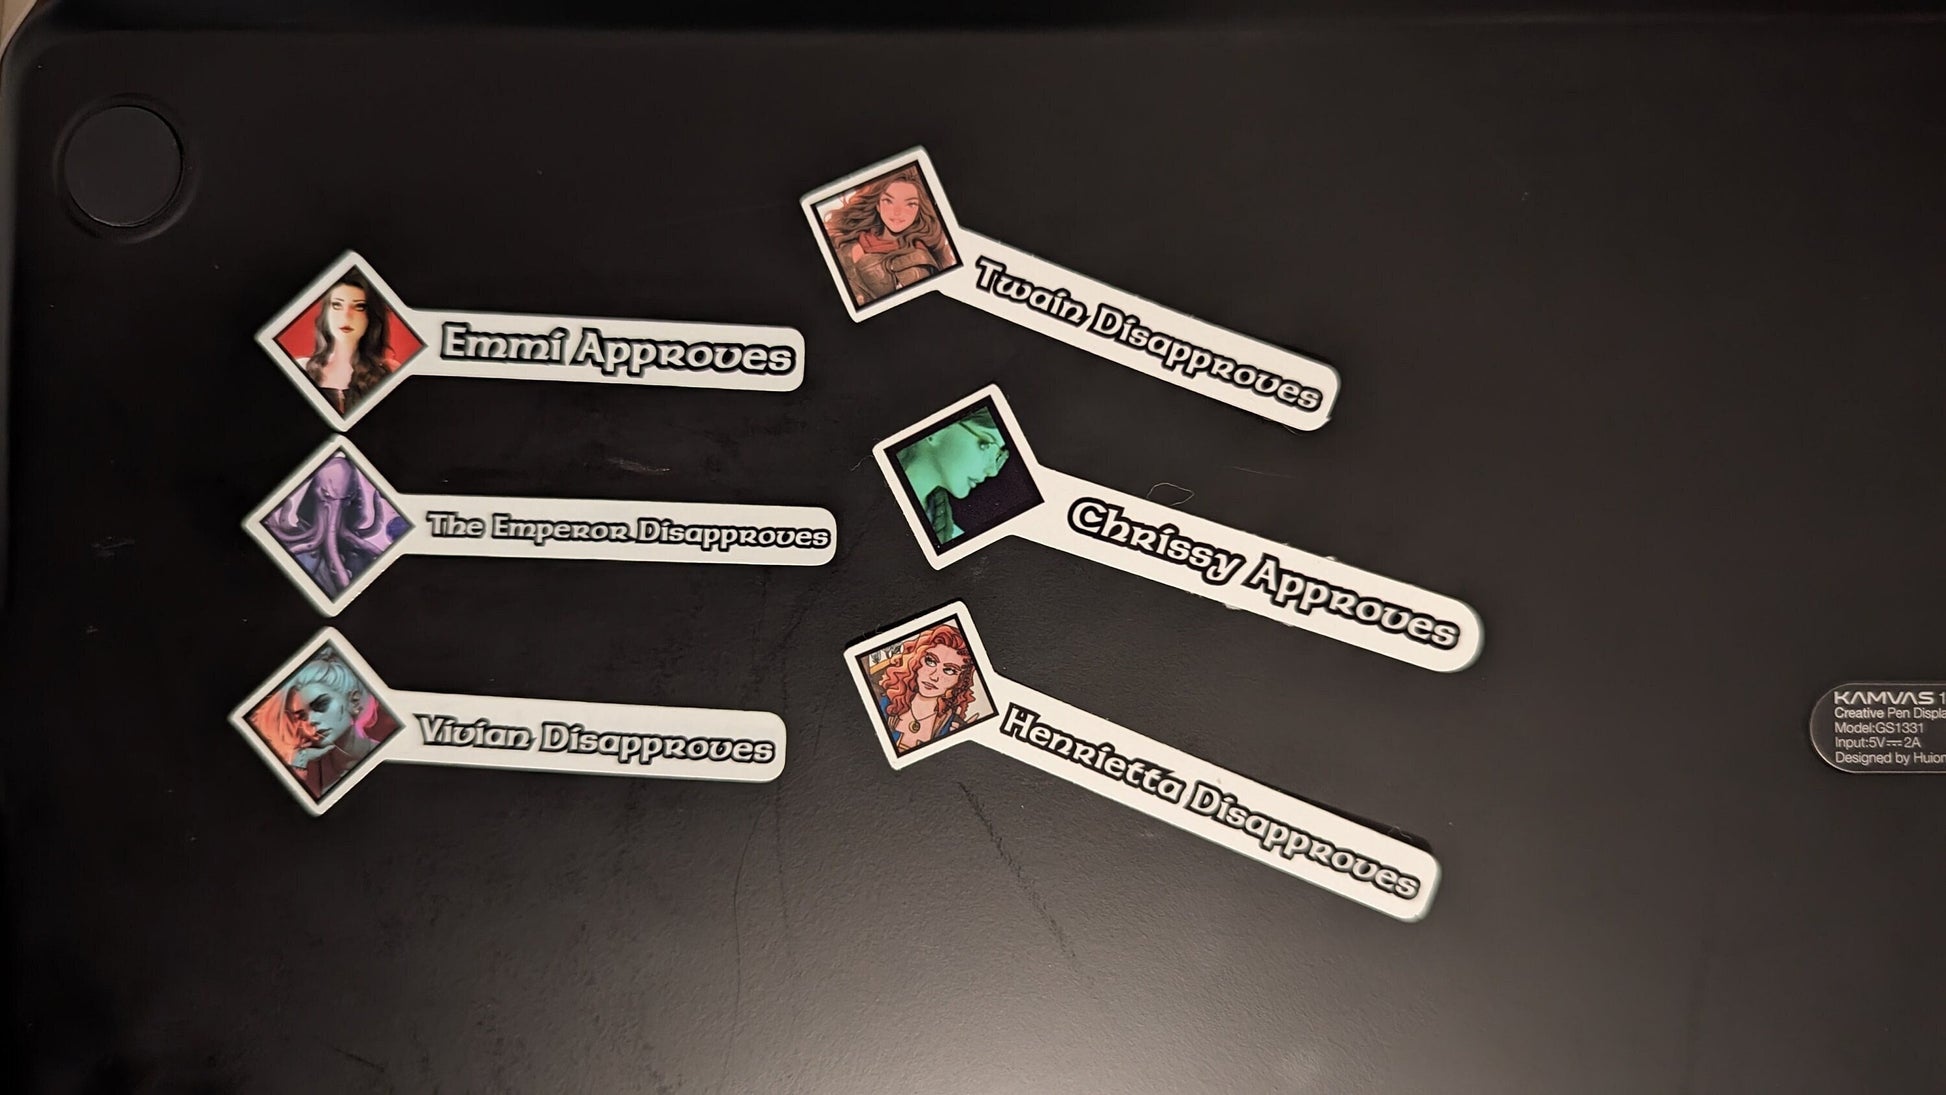
Make this adversity counter to keep track of your Adversity tokens in the Kids on Brooms TTRPG system.
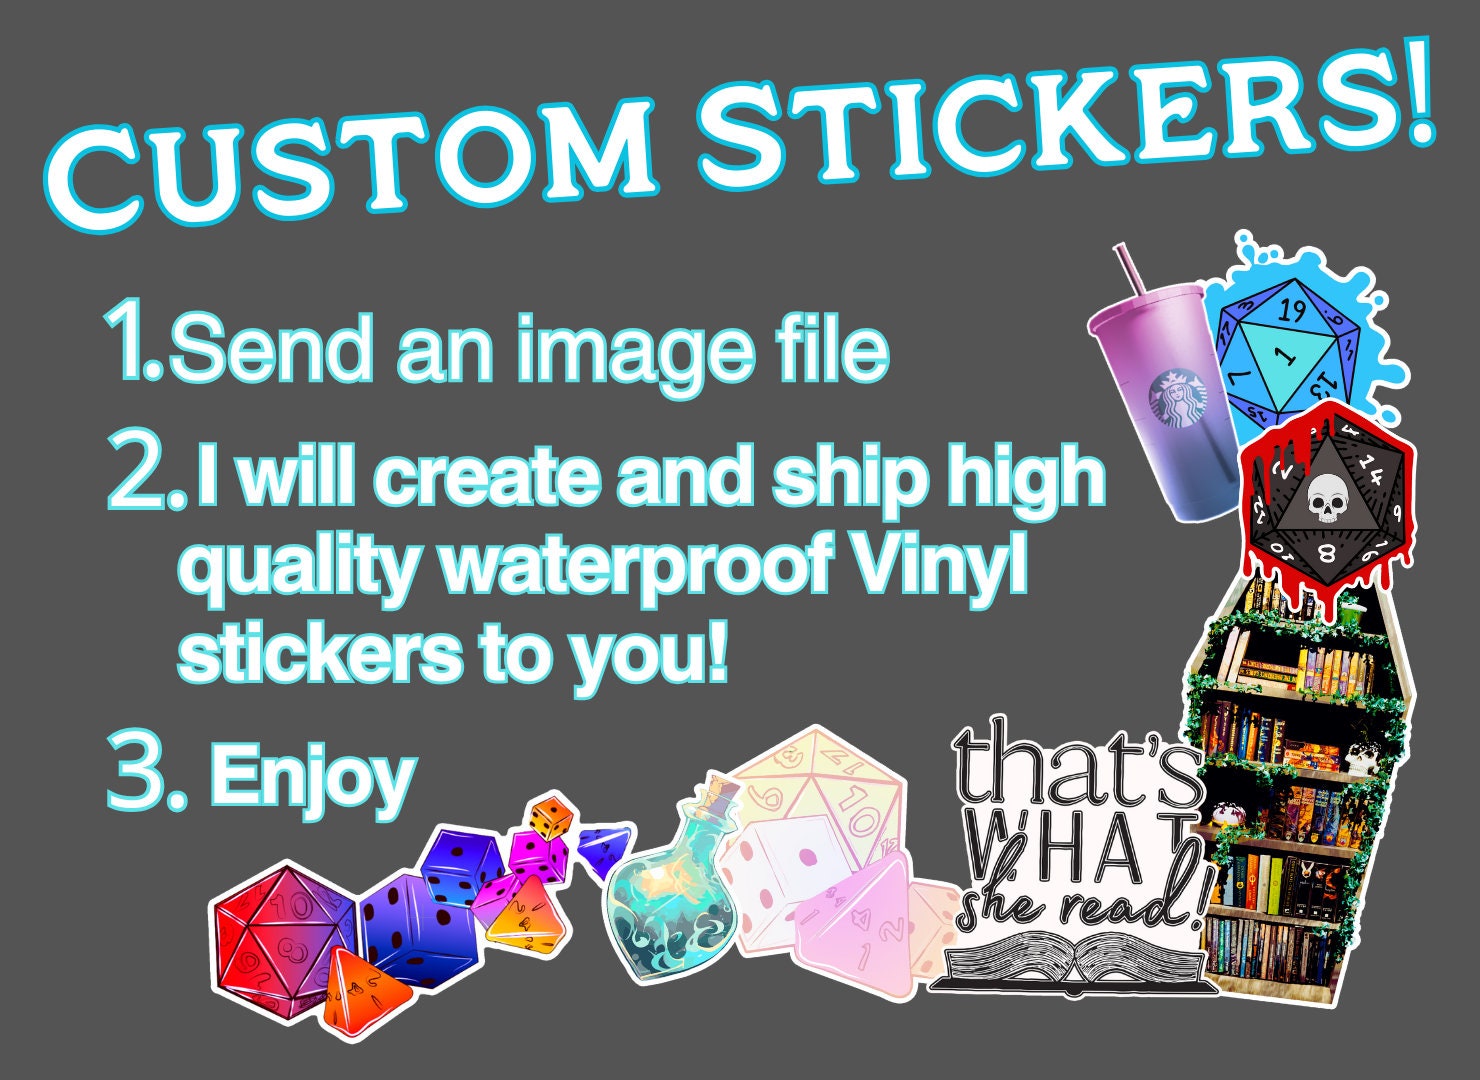
Download the files here: [DOWNLOAD]
All files are PNG's that can be uploaded into cutting software. Also contains an .lds file for siser Juliet's Leonardo design studio.
This is a modified design based on the MTG counter by @edhardin over on boardgamegeek.com.
I created these counters for myself and my friends when we started our first Kids on Brooms game. I wanted something cool to track my tokens and after printing physical circle tokens I hated, I moved on to this idea. I'd had something like this for MTG when I was a teenager, so I started looking for a way to make it myself at home. Huge props to @edhardin as this was exactly what I was looking for and it allowed me to build these counters.
My design is intended to be used as a Print and Cut for a cutting machine such as a cricut. I personally use a Siser Juliet, a machine unbeatable for print and cuts, but lacking in a second slot for a pen or scoring tool. Because of this I choose to score the lines manually using my Scor-Buddy. I'll get more into that later in the post, but if your using a cricut or other such machine, I recommend adding score lines and letting the machine do the work for you.
1. Add your files to your cutting machines program
I recommend adding some contour bleed. This is a solid color added around the boarder of the object that is helpful if the cut is slightly off.

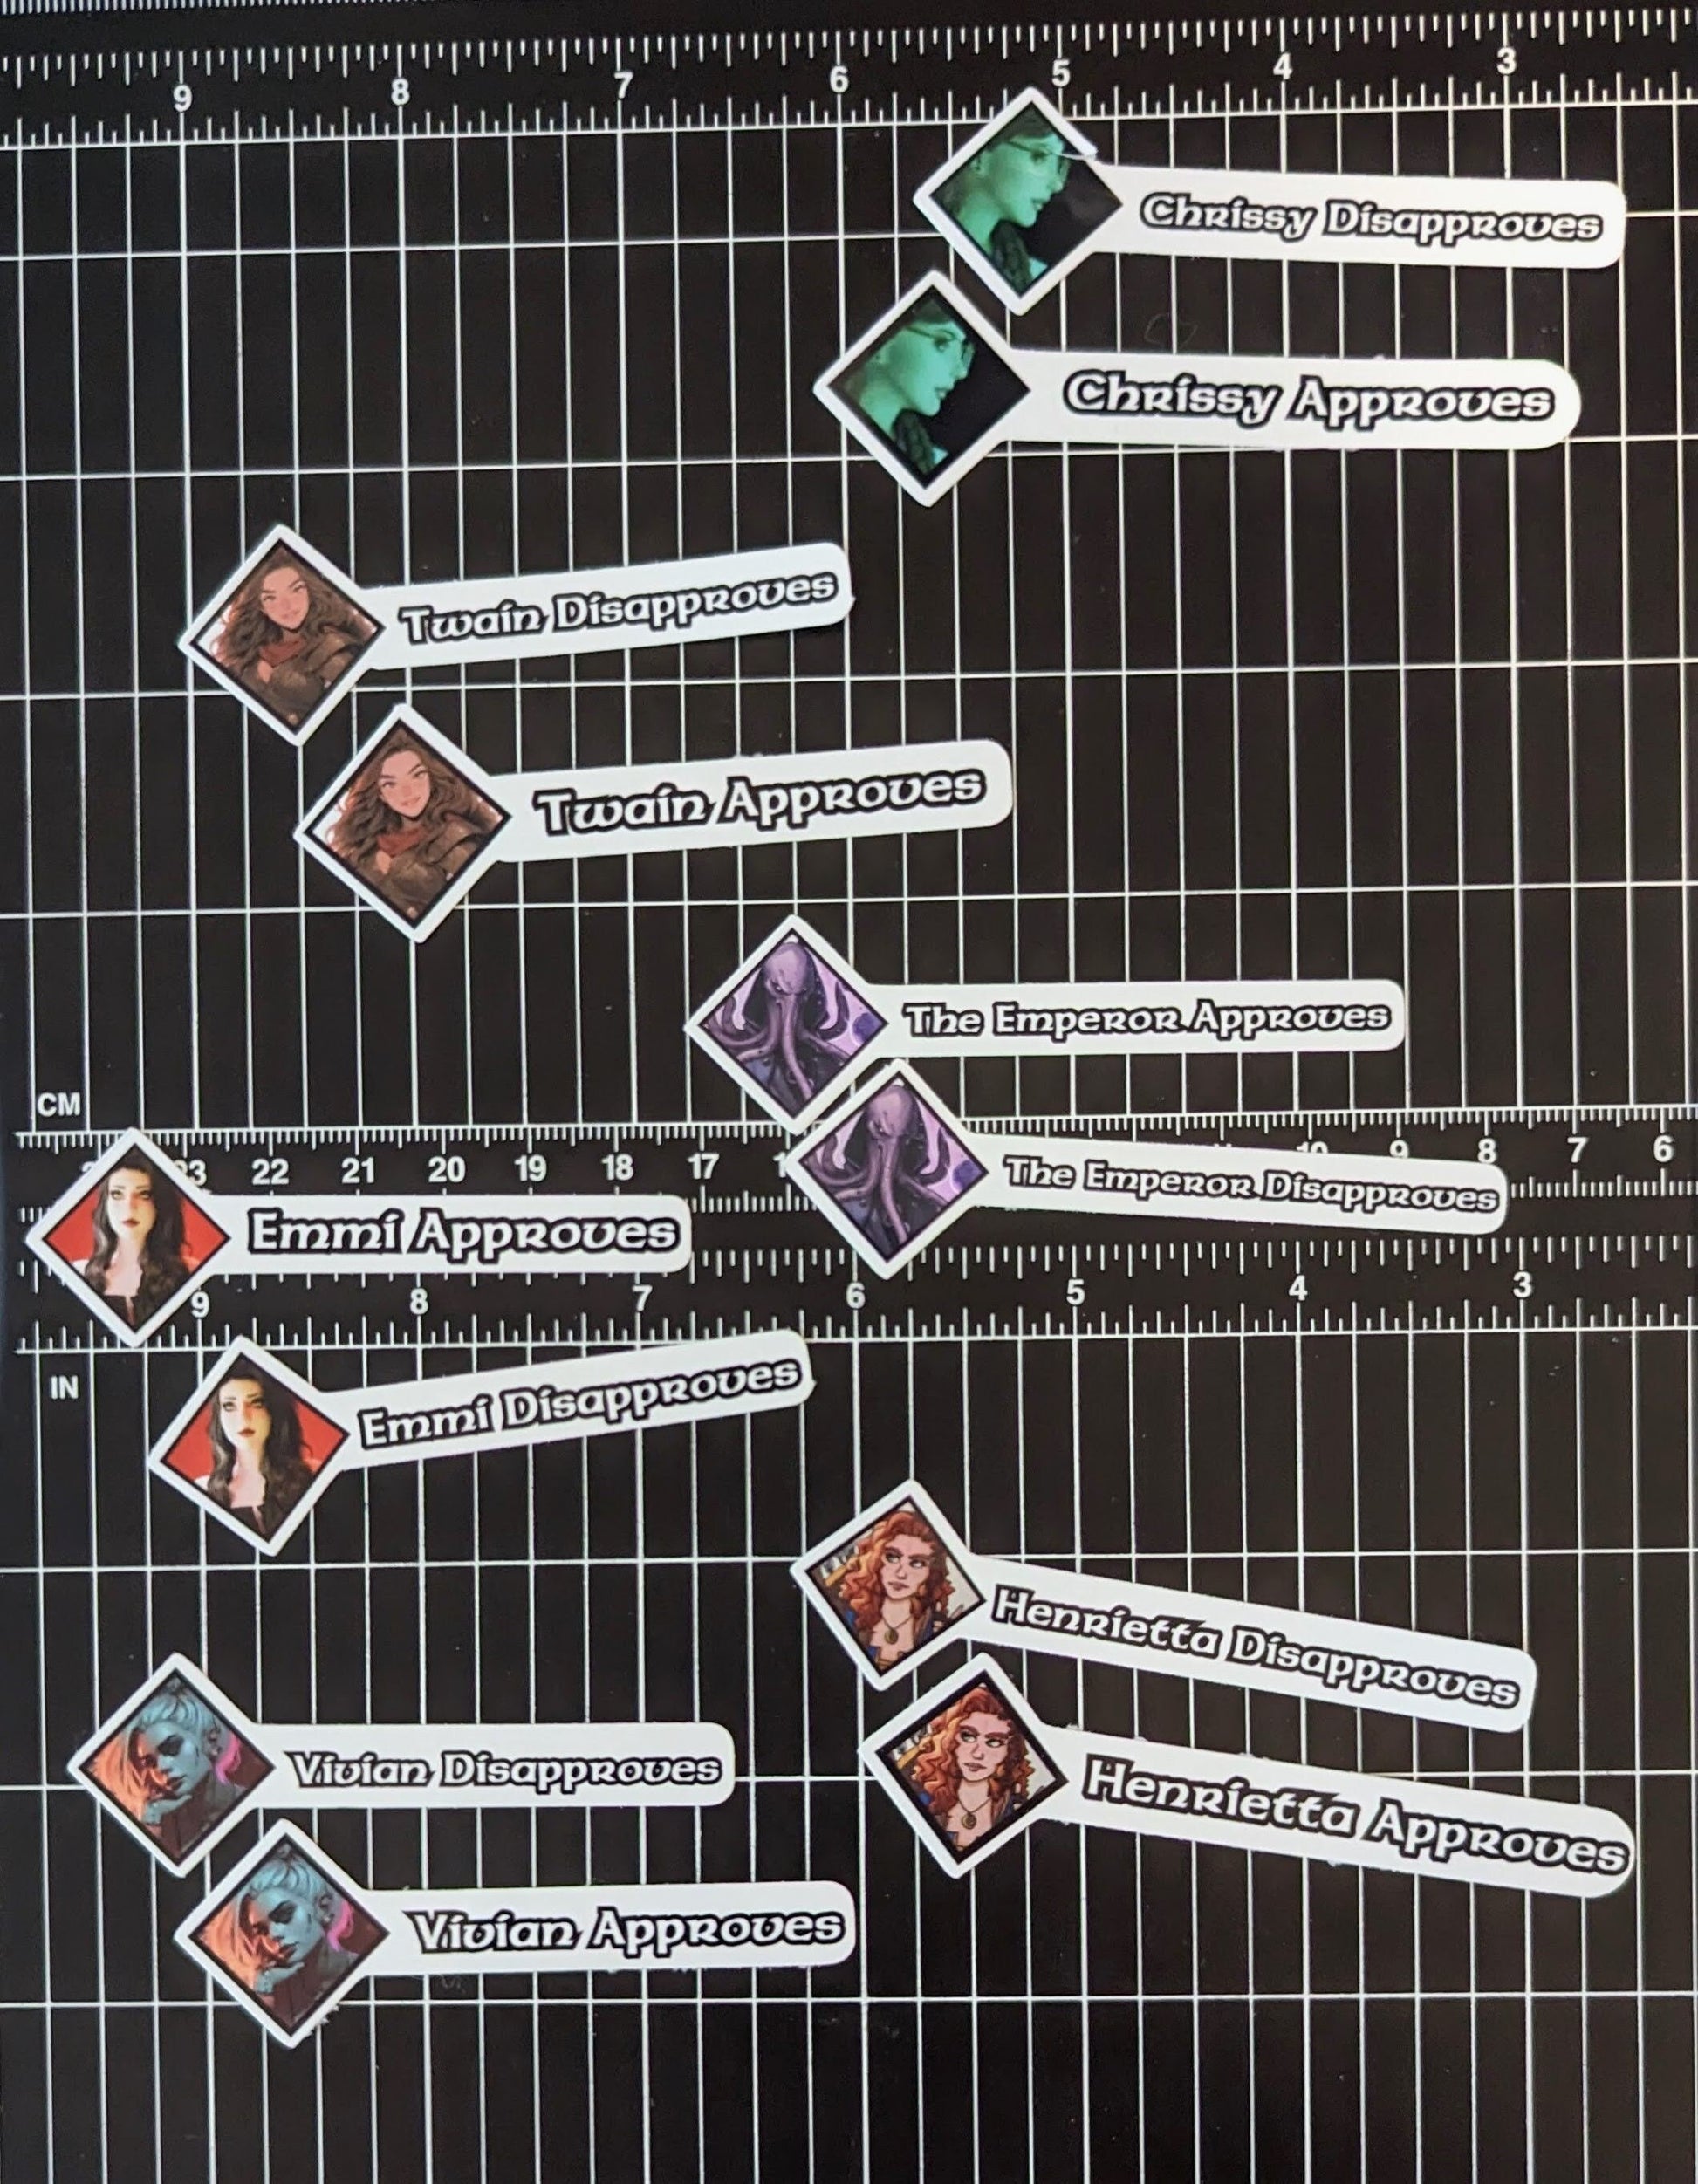
step 2: size your objects to the correct size
You don't need to keep them the same size, but these proportions work, so maybe start with this as a base and resize objects together to insure a working counter.
sizes:
wheel: 8.21 cm
Outer Shell: 18.55 cm X 11.63 cm
Wheel Base: 6.66 cm X 3.90 cm
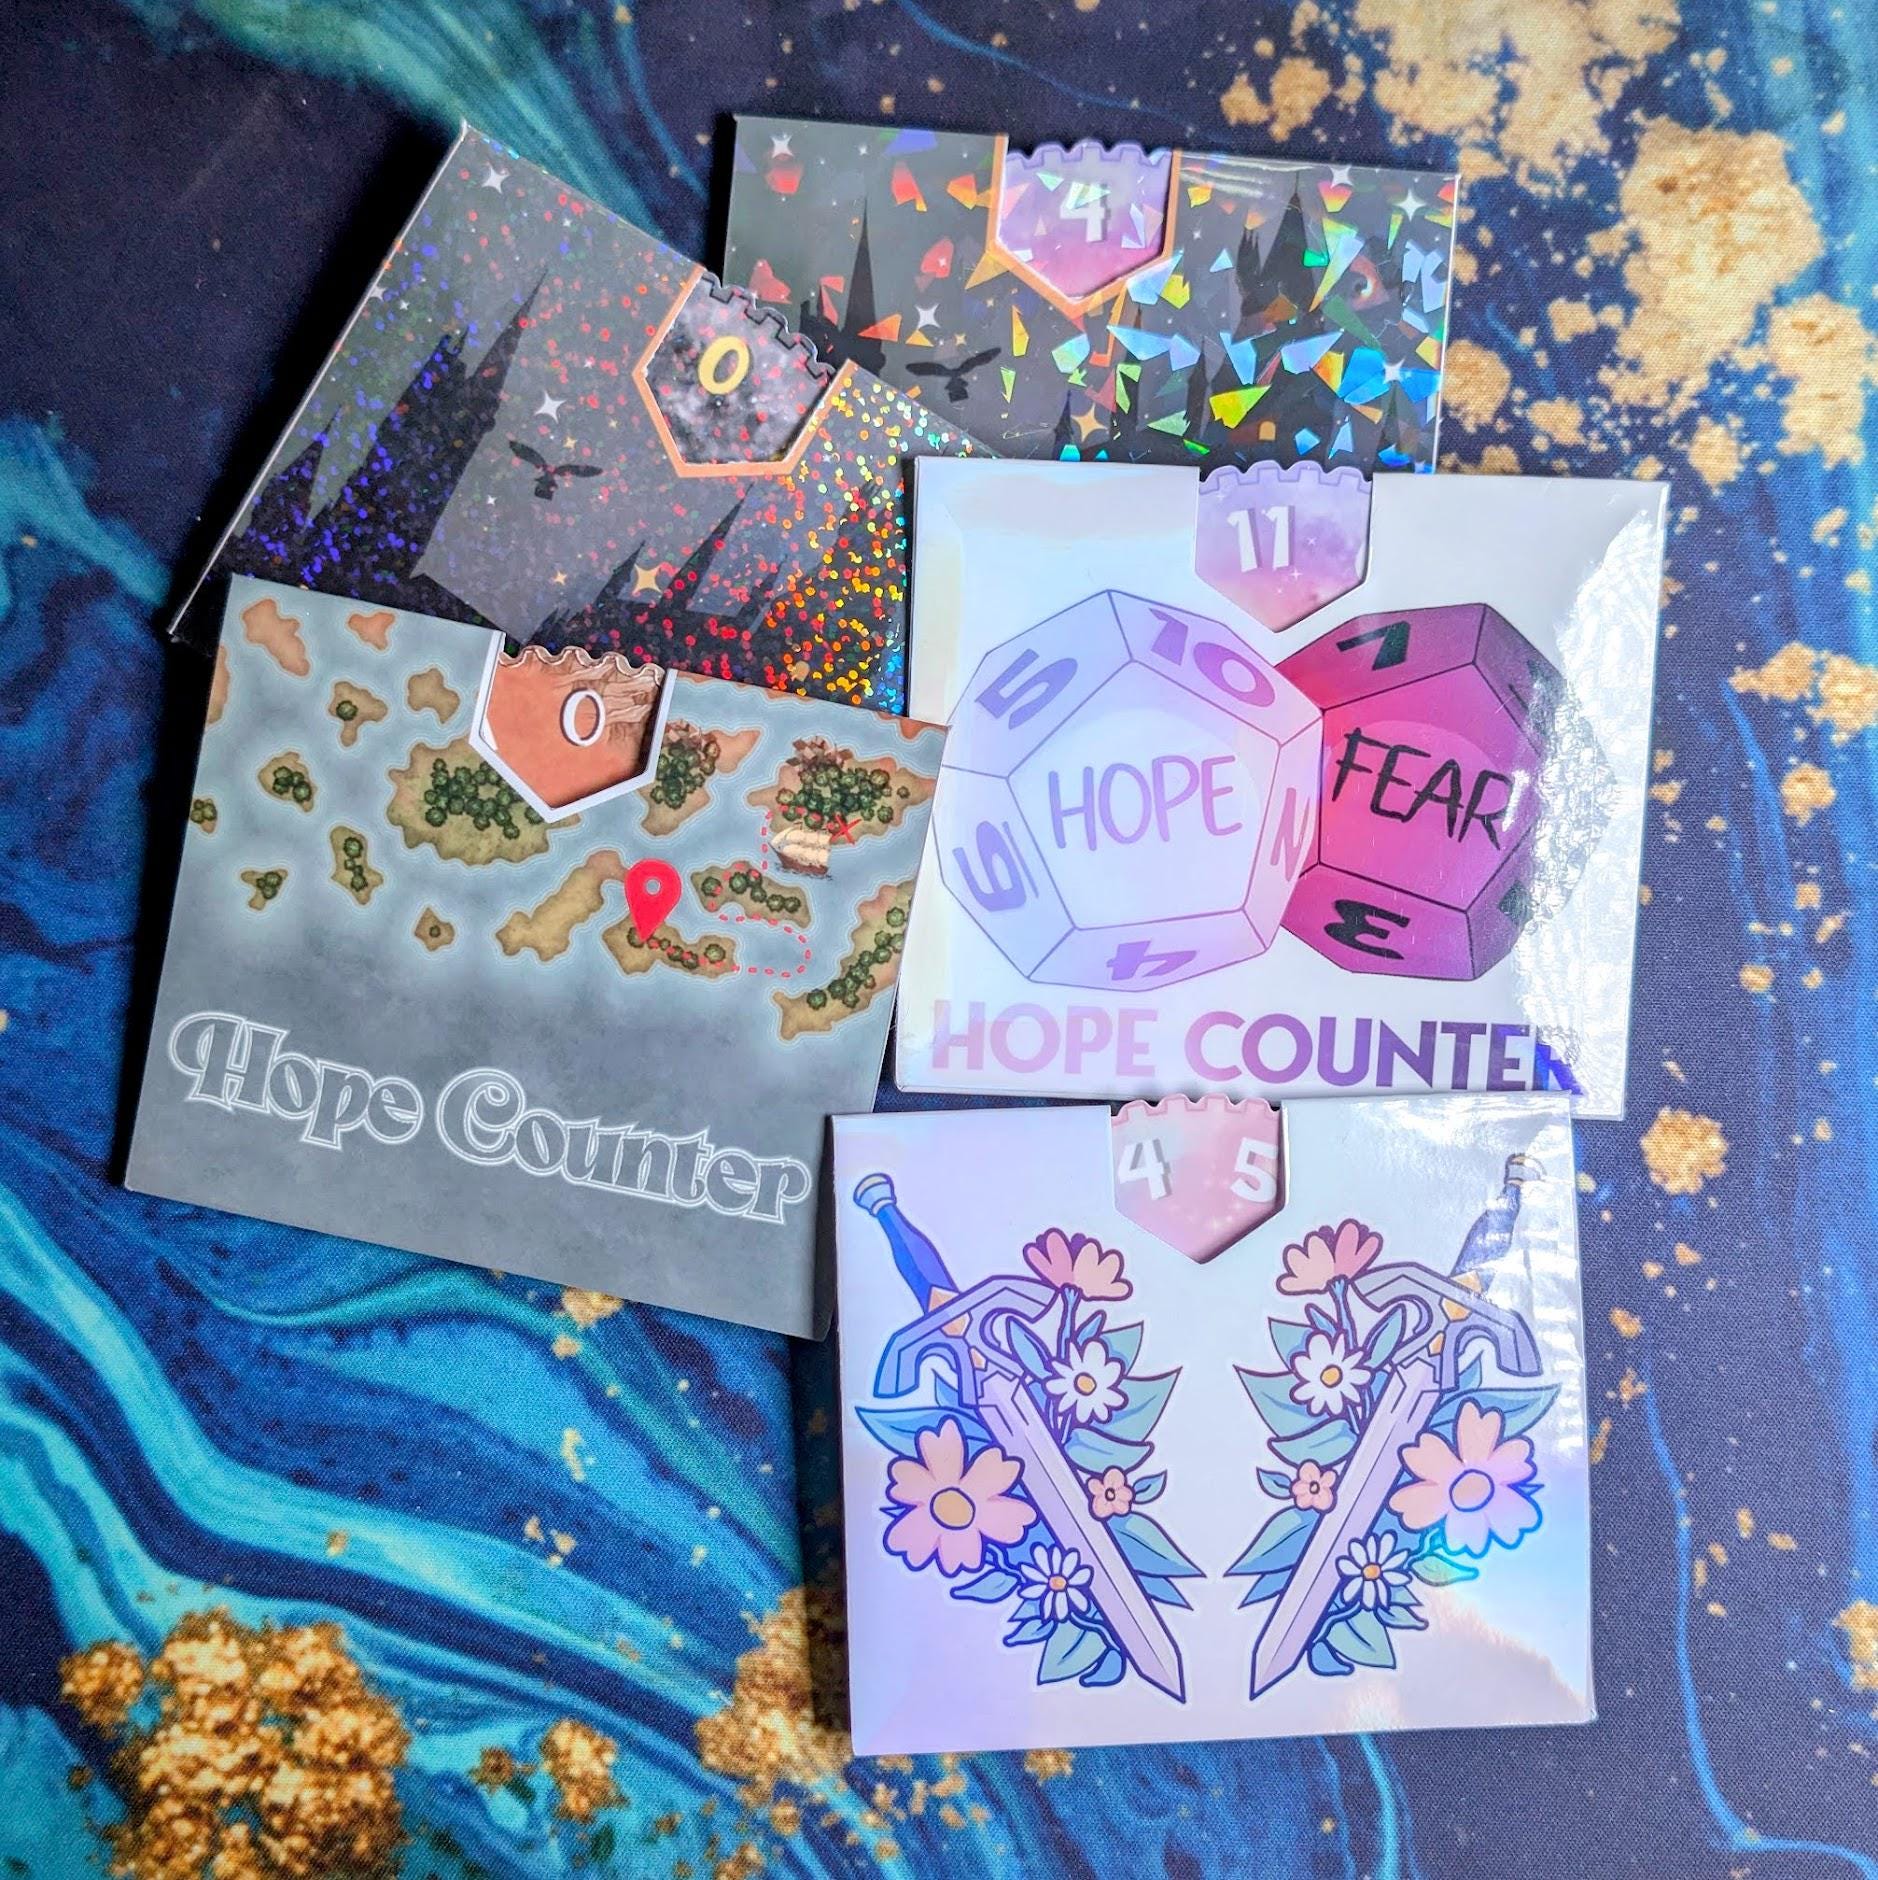
Step 3: Print, laminate and cut!
arrange your desired files in your cutters software and print it out. I use a cardstock from Red River Paper as I like the print quality on this paper best. I then laminate mine with clear sparkle sticker paper, but you could use any type of hot or cold laminate or even just leave it as is, it's up to you!
Laminate is basically just a big sticker sheet. To apply it; I fold a little bit of the paper back and then use a large flat object (a ruler with some painters tape on it) to slowly press the laminate to the cardstock. There are lots of good video tutorials of this on youtube and TikTok!

When the cutting is done you should have at least one wheel, exterior box and rectangle with a square in it. You will also need two thin strips of cardstock that you can cut out of the leftover paper.

4. Score the large outside piece.
I've left markings on all the designs so you can score them. There are lots of methods to score cardstock with tools as simple as a ruler and a pair of scissors, but I'll be using a tool called a scor-buddy. You can also use your cutting machine if desired.

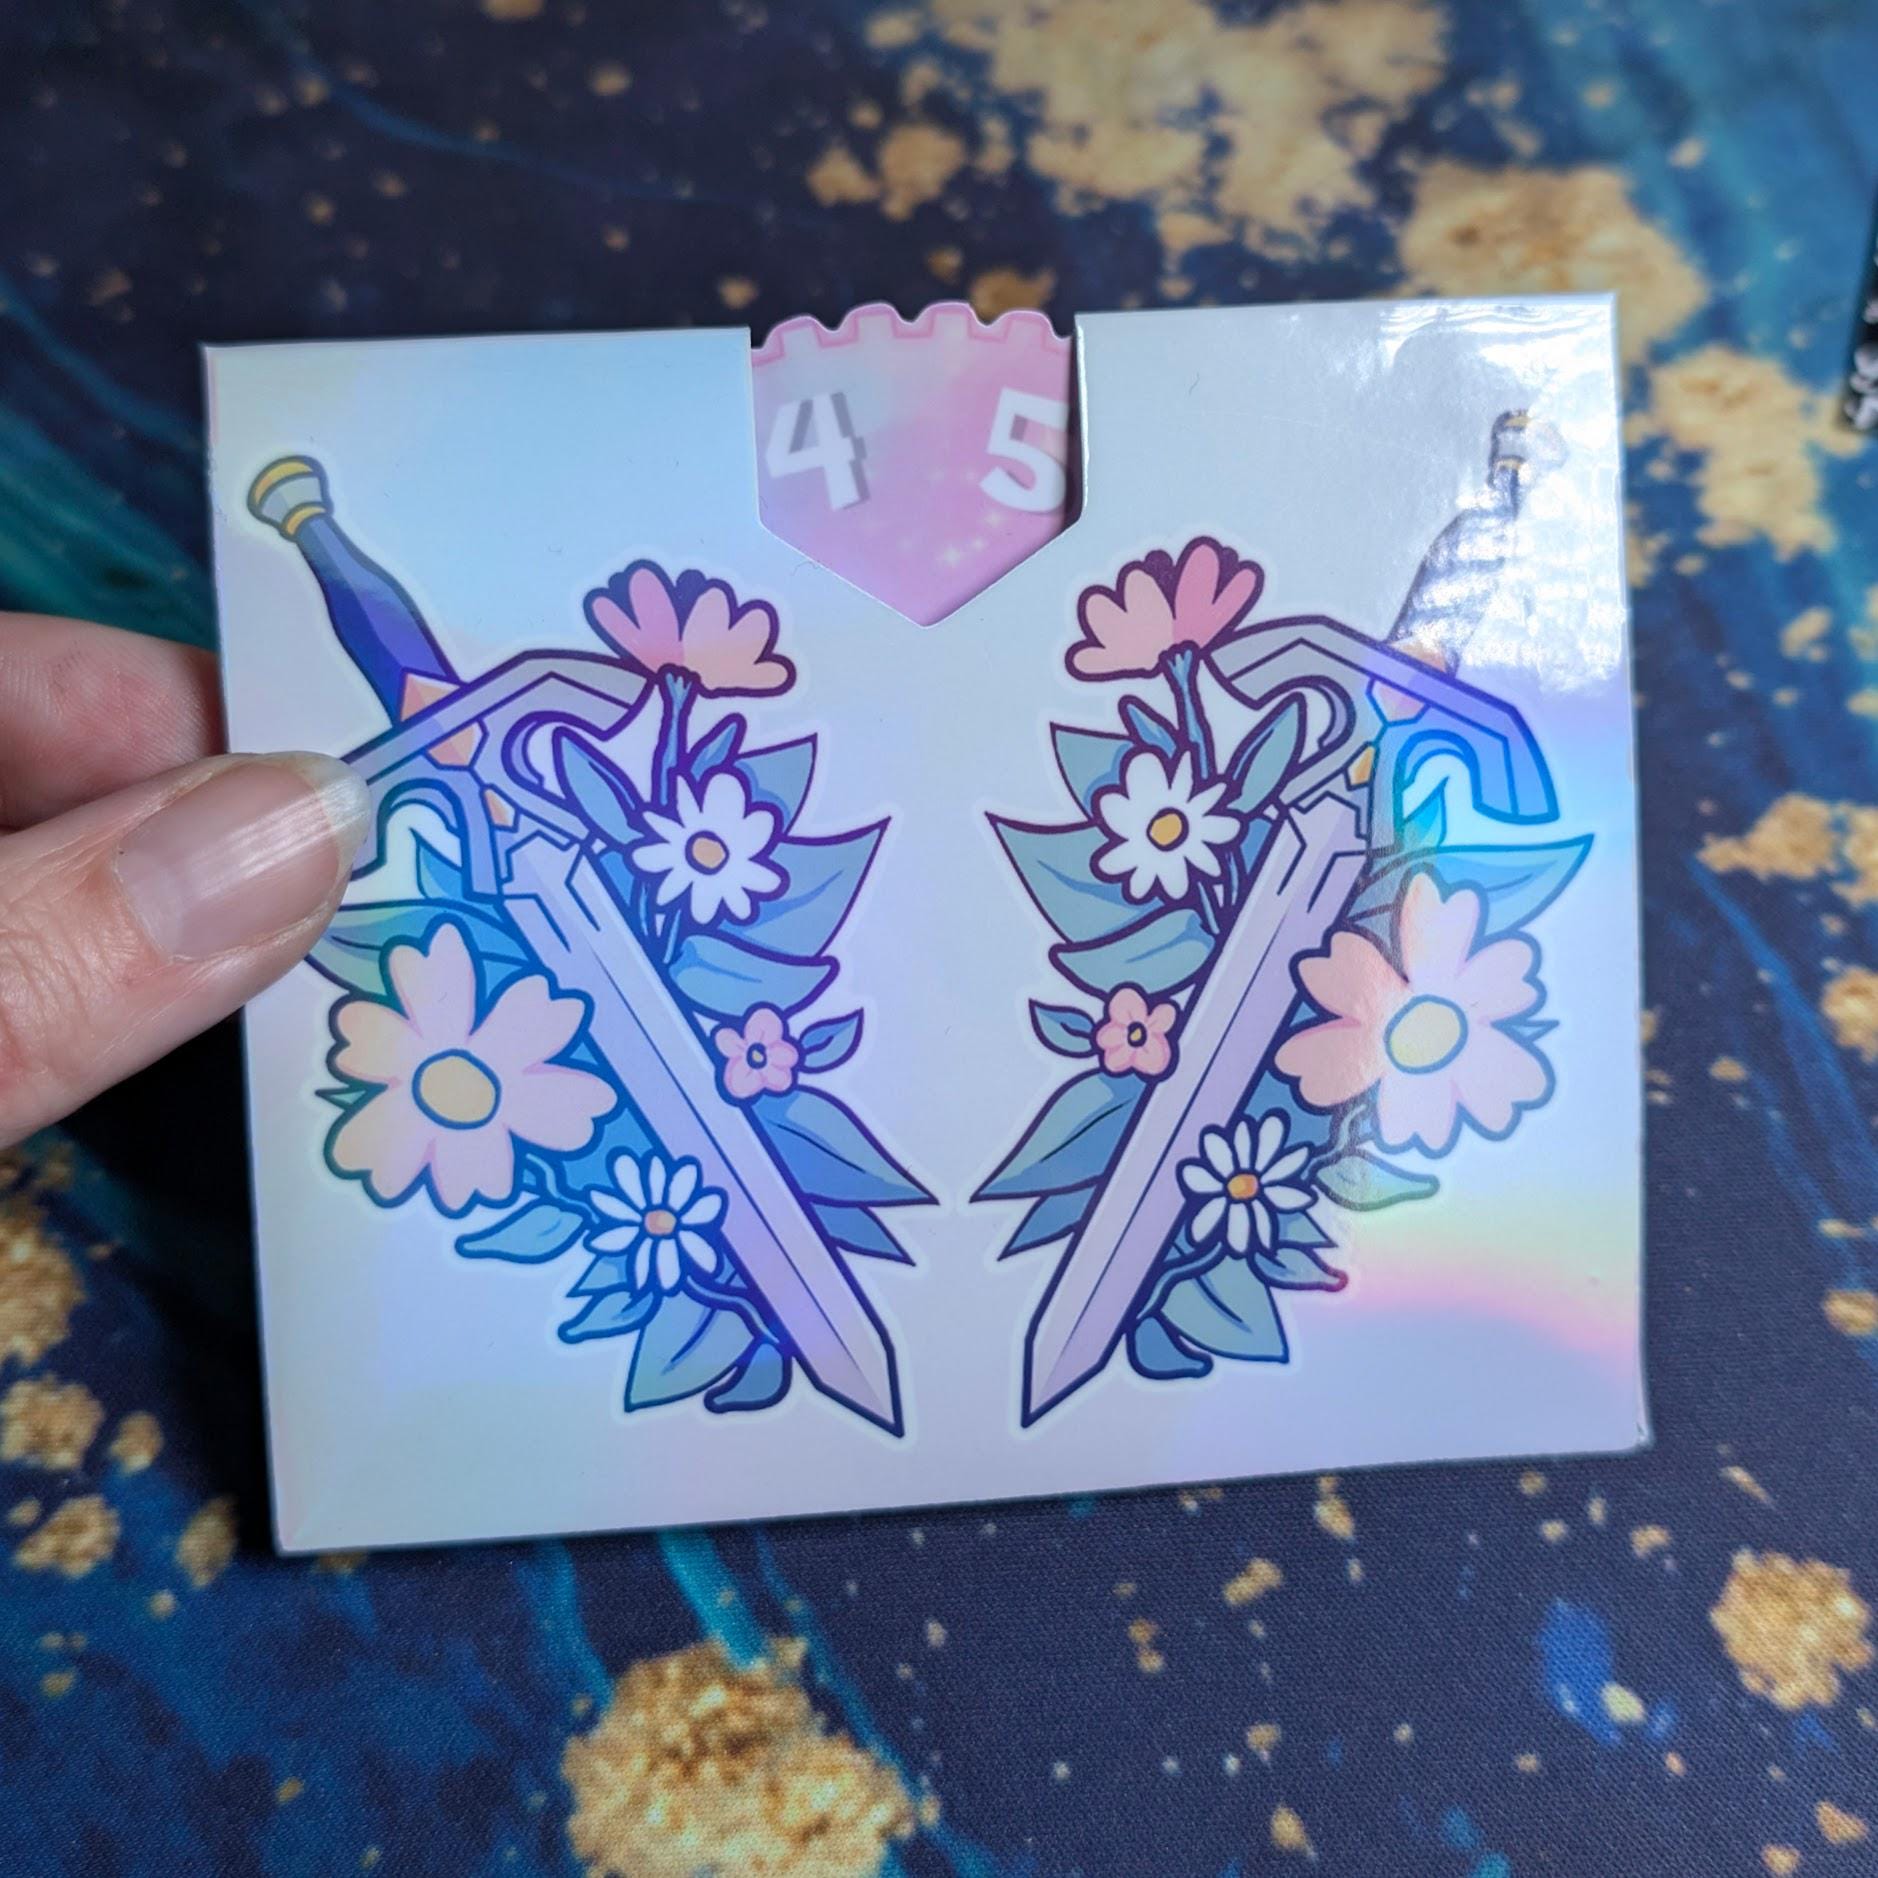
5. Line up the wheel so it will turn
This part is a bit tricky to explain but you want to place the wheel inside the outer shell and eyeball where it should sit. when you think you have it, MOVE IT DOWN a bit. If it's to snug with the top it will be really hard to turn.
When the position is good use a pen to mark the spot. This mark will be used to line up the rectangle of paper we cut out earlier, but first there is one more step.

cut out two small strips of paper. They should be equal in length to the hole in the gear and about an inch high (2.5 cm).

Fold them about 2/3's of the way up so they look like an L. Place them into the rectangle with the small side tucked under. Tape or glue them down and then tape/glue the rectangle down with the pen mark we made earlier showing through the hole.

Place the wheel on the spokes of paper and test that it turns. :)
6. Close up the turner and enjoy!
This is the last step and basically comes down to taping/gluing the front of the counter to the back of the counter. I do this with very strong tape (leftover vinyl from stickers) but glue might be a good option here as I don't think normal tape would be strong enough for this laminated cardstock.


0 comments